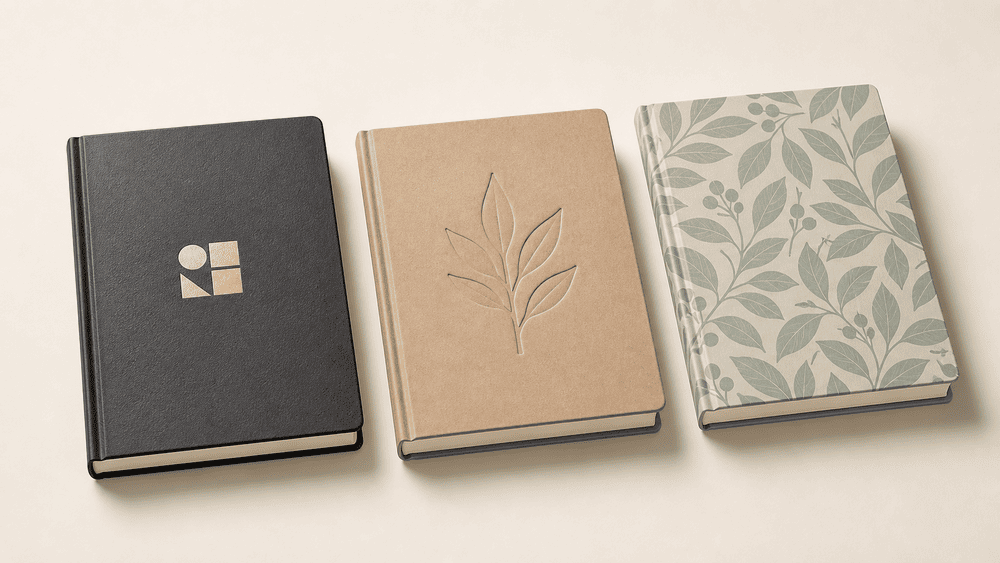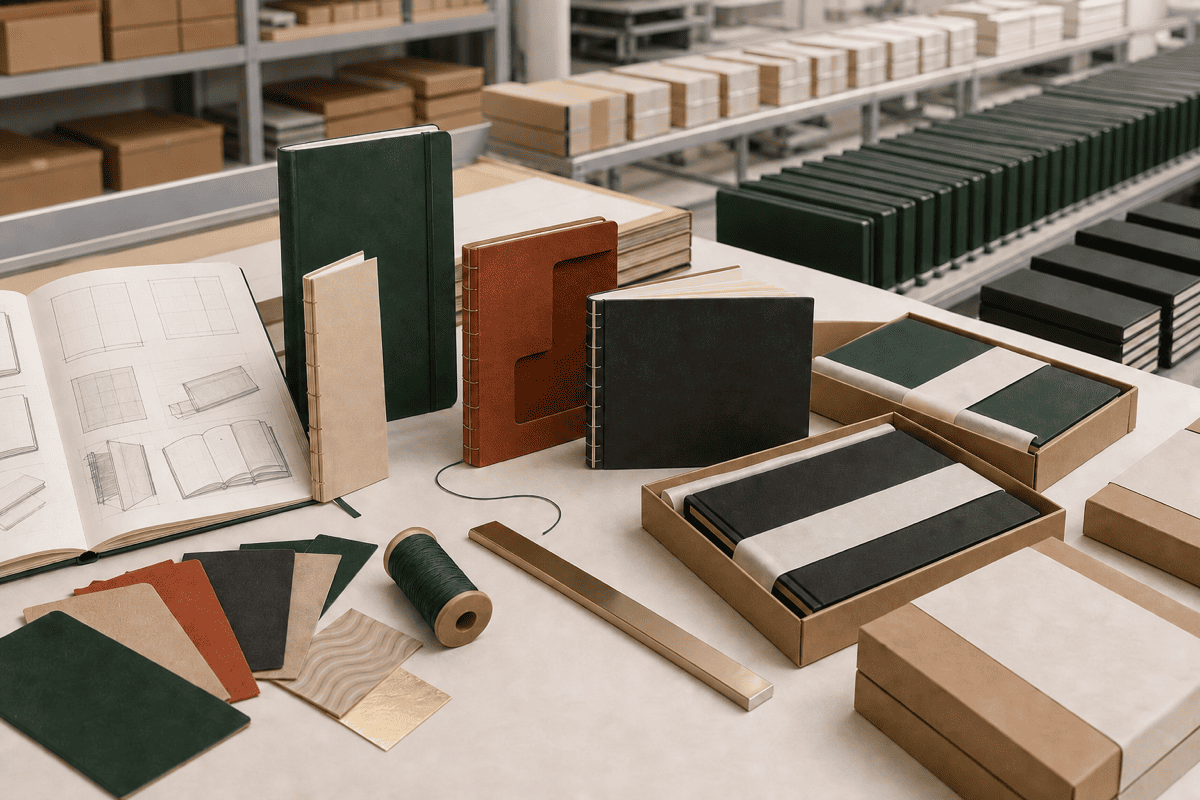
A custom notebook sample is more than a preview of how the finished product will look. It is the physical reference used to confirm materials, dimensions, printing, binding, finishes, accessories, and packaging before thousands of units enter production.
Approving a sample without checking every important detail can lead to color differences, incorrect page layouts, weak binding, misplaced logos, packaging errors, or costly production delays.
This custom notebook sample checklist helps brands, importers, wholesalers, and retail buyers review a notebook systematically before mass production begins.
Why Is Notebook Sample Approval Important?
Artwork files and specification sheets describe a product, but they cannot fully show how the product will feel and function.
A physical sample allows you to verify details such as:
- Whether the notebook feels too thick or too thin
- Whether the cover opens and closes correctly
- Whether the paper is suitable for the intended writing tools
- Whether colors match the approved artwork or reference
- Whether foil, embossing, or other finishes are positioned correctly
- Whether pages turn smoothly and remain secure
- Whether accessories are practical and properly attached
- Whether the packaging protects and presents the product as intended
Once approved, the final sample should be connected to a dated specification document. Together, these become the production reference for materials, workmanship, appearance, and packaging.
Know Which Type of Sample You Are Reviewing
Not all notebook samples serve the same purpose. Before approval, ask the manufacturer what type of sample you have received and which details will match mass production.
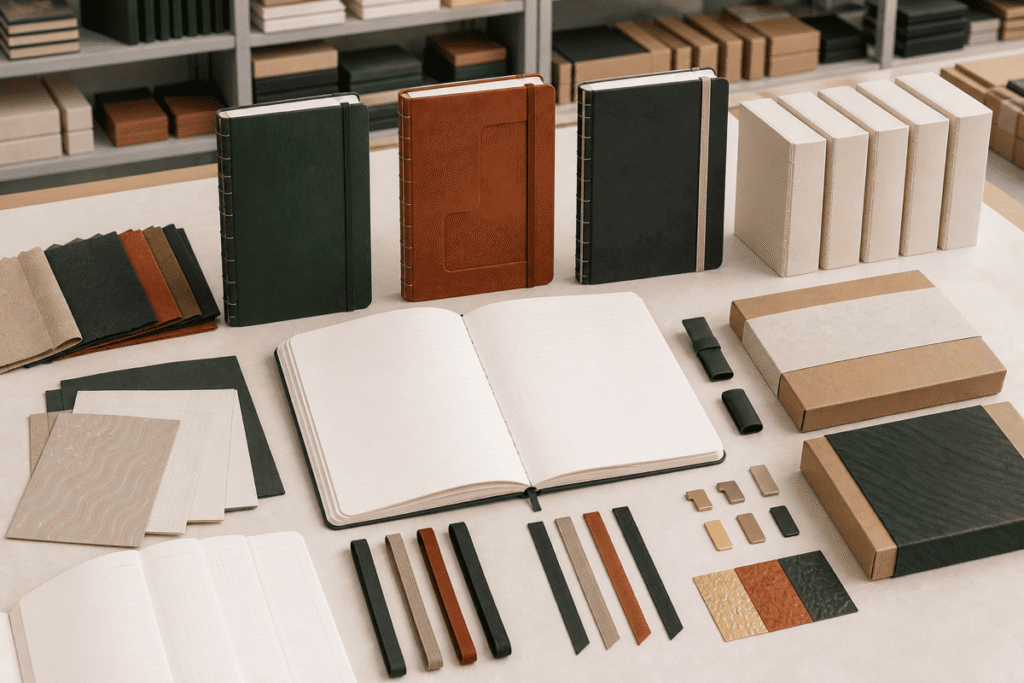
Digital Mockup
A digital mockup shows the expected artwork placement, colors, logo position, and general appearance. It is useful early in development but cannot confirm materials, binding strength, paper feel, or exact color output.
Material Swatch
A material swatch helps confirm paper color, paper weight, PU texture, cover stock, ribbon, elastic, wire color, or another component. It does not represent the complete notebook.
Blank Dummy
A blank dummy uses the intended size, structure, page count, and materials without final printing. It is useful for checking proportions, thickness, opening behavior, and construction.
Printed Prototype
A printed prototype shows the intended artwork and page content. Some production methods or materials may be simulated if final tooling or bulk materials have not yet been prepared.
Pre-Production Sample
A pre-production sample should represent the confirmed specification as closely as possible before mass production. Ask whether it uses the final materials, printing method, binding, finishes, accessories, and packaging.
The words sample, prototype, proof, and pre-production sample are sometimes used differently by different manufacturers. Always confirm what the sample can and cannot prove.
Custom Notebook Sample Checklist
1. Confirm the Sample Identity and Specification Version
Start by confirming that the sample belongs to the correct project and revision.
Check:
- Product name and model number
- Purchase order or quotation reference
- Artwork version and file date
- Specification sheet version
- Sample production date
- Cover design or SKU
- Color variation
- Size variation
- Packaging version
If the project includes several designs, do not assume that approving one automatically approves the others. Each SKU should be checked for artwork, color, barcode, labeling, and packaging differences.
Keep all comments connected to one clearly identified version. Avoid giving approval through several separate email, chat, and voice-message threads.
2. Measure the Notebook Size and Construction
Measure the physical sample instead of relying only on the printed specification.
Verify:
- Finished width and height
- Spine thickness
- Cover thickness
- Number of sheets or pages
- Corner shape and radius
- Orientation
- Position of binding holes
- Overhang between the cover and inner pages
- Alignment of the front cover, spine, and back cover
For hardcover notebooks, check whether the boards are square and evenly positioned. For spiral or Wire-O notebooks, confirm that the cover and pages turn without catching on the wire.
If dimensions have an acceptable tolerance, record it in the specification instead of depending on an undefined expectation of exactness.
3. Inspect Cover Artwork and Printing
The cover creates the first impression of a retail notebook, so review it carefully under neutral lighting.
Check:
- Correct artwork version
- Logo spelling and orientation
- Image resolution and sharpness
- Text accuracy
- Font consistency
- Color accuracy
- Front, spine, and back alignment
- Bleed and trimming
- Safe distance from cut lines, folds, and corners
- Registration between printed colors
- Consistency across coordinated designs
Look for printing defects such as:
- Banding
- Blurred details
- Uneven ink coverage
- Scratches
- Ink marks
- White edges caused by insufficient bleed
- Artwork shifted too close to the trim
- Unexpected color changes on different materials
Screen colors are not a reliable final standard. If color accuracy is important, provide a physical reference, approved color sample, or clearly defined color target and discuss reasonable production tolerances.
4. Approve Surface Finishes
Decorative finishes should be checked for appearance, position, adhesion, and consistency.
Depending on the product, inspect:
- Foil stamping
- Embossing
- Debossing
- Spot UV
- Lamination
- Screen printing
- Die-cut details
- Soft-touch or textured surfaces
For foil stamping, check that the foil is complete, clean, and aligned with the artwork. Look for missing areas, rough edges, pinholes, or unwanted foil transfer.
For embossing and debossing, check the depth, sharpness, position, and effect on the reverse side of the material.
For lamination, check for bubbles, peeling, scratches, silvering, or lifting near the edges and folds.
For spot UV, confirm that the glossy area aligns with the printed artwork and does not spread beyond the intended shape.
5. Verify Cover and Inner-Page Materials
Materials affect appearance, writing performance, durability, and cost.
Confirm:
- Cover material and color
- Cover texture
- Board thickness
- Inner paper type
- Paper GSM
- Paper color, such as bright white, natural white, or ivory
- Surface smoothness
- Opacity
- Grain direction where relevant
- Recycled or certified paper requirements
Test the inner paper with the writing tools your customer is likely to use, such as:
- Ballpoint pen
- Gel pen
- Pencil
- Marker
- Fountain pen, if relevant to the product positioning
Check for feathering, bleed-through, show-through, smudging, slow drying, or an unsuitable writing feel.
If FSC-certified or other specified materials are required, confirm the documentation and product claims that will apply to the final order before printing certification marks on the product or packaging.
6. Check Inner-Page Printing and Content
Inner pages require both editorial and production review.
Verify:
- Correct page count
- Correct page sequence
- Correct lined, dotted, grid, blank, or planner layout
- Line spacing and grid size
- Margin position
- Header and footer placement
- Page numbers
- Dates, calendars, and day names
- Spelling and grammar
- Brand marks and copyright lines
- Language version
- Color density
- Front and back registration
- No missing, repeated, inverted, or blank pages
Open the notebook at several points rather than checking only the first pages. For custom planners or activity notebooks, review every unique page type and confirm that dates and calendars are accurate.
Content approval belongs to the buyer. A manufacturer may identify obvious production problems, but it should not be assumed that the factory is responsible for proofreading every word, date, or language version.
7. Test the Binding and Opening Performance
The notebook should function properly throughout normal use.
Spiral or Wire-O Notebooks
Check:
- Wire color and diameter
- Hole size and spacing
- Wire closure
- Smooth page turning
- Ability to open flat or fold back as intended
- No sharp wire ends
- No loose or damaged holes
- Covers and pages remain aligned
Perfect Bound Notebooks
Check:
- Spine shape and glue coverage
- Pages remain secure during repeated opening
- No visible glue overflow
- Cover alignment
- Adequate inner margin for writing
- No cracking or splitting at the spine
Thread-Sewn or Stitched Notebooks
Check:
- Stitch position and tension
- Thread color
- No loose or broken threads
- Pages remain secure
- The notebook opens as intended
- Stitching does not damage the cover or pages
Hardcover Notebooks
Check:
- Case alignment
- Endpaper adhesion
- Spine movement
- Hinge strength
- Cover corners
- Page block attachment
- Opening behavior
Open and close the sample repeatedly. A notebook that looks correct when closed may still have functional problems during use.
8. Check Accessories and Added Features
Accessories should be reviewed for appearance, position, function, and attachment strength.
Check any applicable items:
- Elastic band closure
- Pen loop
- Ribbon bookmark
- Magnetic closure
- Metal buckle
- Tabs or dividers
- Sticky note components
- Decorative charms
- Removable inserts
Verify colors, dimensions, placement, and how each component performs during normal use.
For elastic bands, check tension. A band that is too loose will not hold the notebook closed, while one that is too tight may bend the cover.
For ribbon bookmarks, check the length, cut edge, attachment, and whether the ribbon frays easily.
For pen loops and pockets, test them with the intended pen size or inserted materials.
9. Review Packaging and Retail Presentation
Packaging errors can prevent an otherwise correct product from reaching the shelf or distribution center successfully.
Confirm:
- Individual packaging method
- Protective film or bag
- Belly band dimensions
- Gift box size and fit
- Display box construction
- Printed packaging artwork
- Barcode number and scan performance
- Country-of-origin marking
- Warning labels where applicable
- SKU labels
- Retail price labels, if required
- Quantity per inner box and carton
- Carton marks
- Shipping carton strength
- Product orientation inside the package
Check whether the packaging protects delicate finishes such as foil, lamination, metal accessories, and light-colored covers from scratches or rubbing.
For retail collections, place all designs together and confirm that the presentation feels coordinated. Check that customers and warehouse staff can distinguish SKUs easily.
10. Define Quality Standards and Acceptable Tolerances
A handmade sample and mass production are not identical production situations. Some variation may occur between units or material batches.
Before approval, agree on measurable expectations where relevant, including:
- Finished size tolerance
- Color tolerance
- Artwork position tolerance
- Foil or embossing registration tolerance
- Page count
- Material specification
- Acceptable appearance variation
- Packaging quantity
- Inspection method
- Customer-specific or retailer inspection requirements
If the order will be inspected according to an AQL standard or a customer’s own checklist, provide those requirements before production. Do not wait until the goods are complete to introduce a new inspection standard.
Critical requirements should be written in the specification and purchase documents, not communicated only through photographs or informal messages.
How to Approve a Custom Notebook Sample
Use a controlled approval process rather than replying with a simple “looks good.”
Step 1: Compare the Sample with the Latest Documents
Review the sample beside the latest quotation, specification sheet, artwork, packaging files, and previous feedback.
Step 2: Inspect Under Suitable Conditions
Use neutral lighting and a clean surface. Measure with appropriate tools and test the product as a user would.
Step 3: Record All Comments in One Document
Consolidate feedback into one numbered list or annotated file. Identify whether each point is:
- Approved
- Approved with a documented tolerance
- Requires correction before production
- Requires a revised sample
Step 4: Request a Revised Sample for Critical Changes
A new physical sample is normally appropriate when a change affects structure, materials, color-critical printing, binding, function, or retail packaging.
Minor text corrections may sometimes be approved through updated artwork, but the approval method should be agreed with the manufacturer.
Step 5: Sign and Date the Final Reference
Record the approved sample number, artwork version, specification version, approval date, and authorized approver.
Both buyer and manufacturer should retain an approved reference sample whenever practical. This is often called a golden sample, approval sample, or control sample.
Step 6: Freeze the Specification
After approval, avoid making further changes. Late changes can affect price, materials, production scheduling, lead time, and consistency with the approved sample.
If a change is necessary, document it formally and confirm whether a new sample or updated approval is required.
Common Sample Approval Mistakes
Approving from Photos Alone
Photos can help confirm artwork placement, but they cannot reliably prove paper feel, exact color, binding strength, size, finish quality, or product function.
Checking Appearance but Not Function
Open the notebook repeatedly, turn pages, write on the paper, test closures, and handle the packaging.
Reviewing Only One Design
Different cover artworks, colors, barcodes, and packaging labels can create SKU-specific errors.
Giving Feedback Through Multiple Channels
Scattered comments increase the risk that an instruction is missed or an outdated version is used.
Assuming Unwritten Details Are Included
If a paper weight, ribbon color, packaging method, tolerance, or carton quantity matters, include it in the written specification.
Making Changes After Approval
Every post-approval change creates a risk of delay, extra cost, or inconsistency between the sample and mass production.
Failing to Keep an Approved Sample
Without a retained reference, later discussions about color, materials, workmanship, and packaging become more difficult to resolve.
Quick Custom Notebook Sample Approval Form
Use the following summary during review:
| Review Area | Status | Notes or Required Changes |
|---|---|---|
| Product model and version | Approve / Revise | |
| Finished size and page count | Approve / Revise | |
| Cover material and structure | Approve / Revise | |
| Cover artwork and color | Approve / Revise | |
| Logo and decorative finishes | Approve / Revise | |
| Inner paper and writing test | Approve / Revise | |
| Inner-page content and sequence | Approve / Revise | |
| Binding and opening performance | Approve / Revise | |
| Accessories | Approve / Revise | |
| Individual packaging | Approve / Revise | |
| Barcode and labels | Approve / Revise | |
| Export carton and carton marks | Approve / Revise | |
| Quality tolerances | Approve / Revise | |
| Final artwork version | Approve / Revise | |
| Final specification version | Approve / Revise |
Add the approver’s name, signature, and date after all required changes have been completed.
Custom Notebook Sampling at YIMU
YIMU supports sample development for custom spiral notebooks, hardcover notebooks, PU notebooks, perfect bound notebooks, stitched notebooks, sticky notes, and other custom paper products.
Customers can confirm details including:
- Size and page count
- Cover and inner paper
- Artwork and logo position
- Binding method
- Inner-page layout
- Foil stamping, embossing, UV printing, lamination, and other finishes
- Elastic bands, ribbons, pen loops, pockets, and other accessories
- Individual packaging and export packing
Samples are typically completed within 3 to 7 days after the specifications and artwork are confirmed. The standard custom order MOQ starts from 5,000 pieces, subject to the product, materials, design variations, and packaging.
Bulk production normally takes approximately 20 to 30 days after sample approval and order confirmation. Actual timing may vary according to order complexity, quantity, material availability, and required revisions.
Frequently Asked Questions
What is a pre-production notebook sample?
A pre-production sample is produced before the bulk order to represent the confirmed notebook specification. Buyers should confirm which materials, printing methods, finishes, accessories, and packaging will be identical to mass production.
Can I approve a custom notebook sample from photos?
Photos can be useful for minor artwork checks, but a physical sample is safer when color, paper, materials, binding, finishes, size, or function are important.
Who is responsible for proofreading custom inner pages?
The buyer should approve spelling, dates, page sequence, language, copyright information, and all other content. The manufacturer should produce according to the approved artwork and specification.
Should every notebook design be sampled?
It depends on how much the designs differ. At minimum, every SKU’s artwork, colors, barcode, labels, and packaging should be reviewed. A physical sample may be needed for variations involving different structures, materials, finishes, or functional details.
What happens if I change the design after sample approval?
The manufacturer should review the change and confirm any effect on cost, MOQ, tooling, sampling, production time, and delivery. A revised sample or formal written approval may be required.
Is the approved sample guaranteed to be identical to every mass-produced notebook?
The approved sample is the production reference, but reasonable manufacturing and material tolerances may apply. Important tolerances and inspection standards should be agreed before production.
How long does a custom notebook sample take?
YIMU’s typical sample lead time is 3 to 7 days after the specification and artwork are confirmed. Complex structures, special materials, or multiple revisions may require additional time.
Approve the Details Before You Approve Production
A careful sample review protects both the buyer and the manufacturer. It creates a shared reference, reduces misunderstandings, and helps mass production follow the intended specification.
Do not approve only the appearance of the notebook. Check how it is built, how it opens, how the paper performs, how the accessories function, and how the product will be packed and identified throughout distribution.
Ready to develop and sample a custom notebook for your brand?